How to Optimize Placement of Trail Cameras
Strategically install trail cameras
In this post, we'll examine the best ways to strategically install trail cameras to maximize your chances of discovering potential Bigfoot evidence when doing research visits. Proper placement of your trail camera can improve your chances of capturing images or videos of this elusive animal. (Check out the great video on this subject down below)
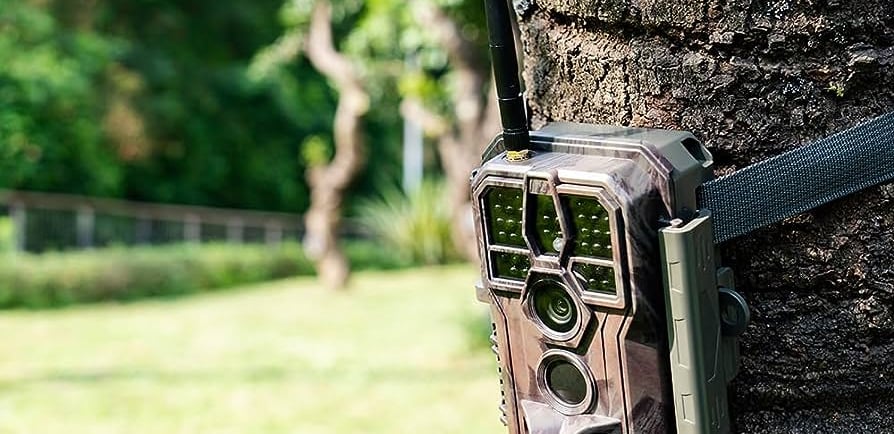
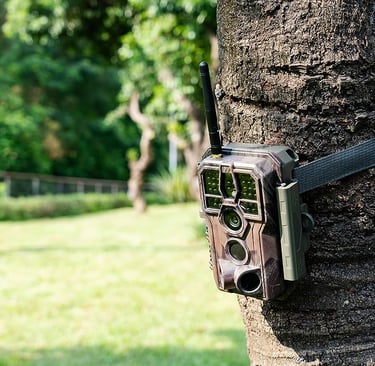
Choose the Right Trail Camera
Before we dive into placement strategies, it's essential to select a trail camera suitable for your research needs. onsider the following factors:
● High Resolution: Choose a trail camera with high-resolution image and video capabilities to capture clear and detailed evidence.
● Infrared or No-Glow Technology: Opt for a trail camera with infrared or no-glow technology to avoid startling wildlife or potential Bigfoot activity.
● Battery Life: Select a trail camera with a long-lasting battery to ensure it remains operational for extended periods.
● Trigger Speed: Look for a trail camera with a fast trigger speed to capture quick movements effectively.
Key Trail Camera Placement Strategies
● Identify High-Probability Areas: Research historical Bigfoot sightings, reports, and potential habitat preferences to identify areas with a higher probability of Bigfoot activity.
● Cover Entrances and Exits: Place trail cameras at the entrances and exits of potential Bigfoot habitats, such as dense forests or secluded areas.
● Follow Game Trails: Position trail cameras along game trails, as Bigfoot may use these paths to move through the wilderness.
● Water Sources: Set up trail cameras near water sources, such as rivers, streams, or lakes, where Bigfoot might come to drink.
● Food Sources: If possible, monitor areas with potential food sources for Bigfoot, such as berry patches, fruit trees, or natural food caches.
● Survey Clearings and Open Spaces: Bigfoot might use clearings or open spaces for observation, hunting, or resting. Place trail cameras to monitor these areas.
● Height and Angle: Mount trail cameras at a height and angle that covers the potential movement and activity range of Bigfoot. Position the camera downward to capture footprints and other evidence on the ground.
● Multiple Cameras: Use multiple trail cameras to cover a wider area and capture different angles of potential Bigfoot activity.
● Concealment: Camouflage trail cameras to blend in with the surrounding environment, reducing the chances of detection by wildlife or humans.
Check and Maintain Trail Cameras
Regularly check and maintain your trail cameras to ensure they function optimally:
● Battery Replacement: Replace batteries as needed to prevent interruptions in camera operation.
● Memory Card Management: Clear and format memory cards before each expedition to maximize storage capacity.
● Regular Maintenance: Clean and inspect trail cameras for dirt, debris, or damage that may affect their performance.
Review and Analyze Trail Camera Footage
After retrieving the trail camera footage, review and analyze the images and videos carefully. Look for any potential Bigfoot evidence, such as footprints, distinctive creatures, or unexplained movements.
Share Findings and Collaborate
If you capture potential Bigfoot evidence on your trail cameras, share your findings with the Bigfoot research community or other researchers for analysis and verification.
Collaboration with experts can provide valuable insights and contribute to the ongoing quest for evidence of Bigfoot.